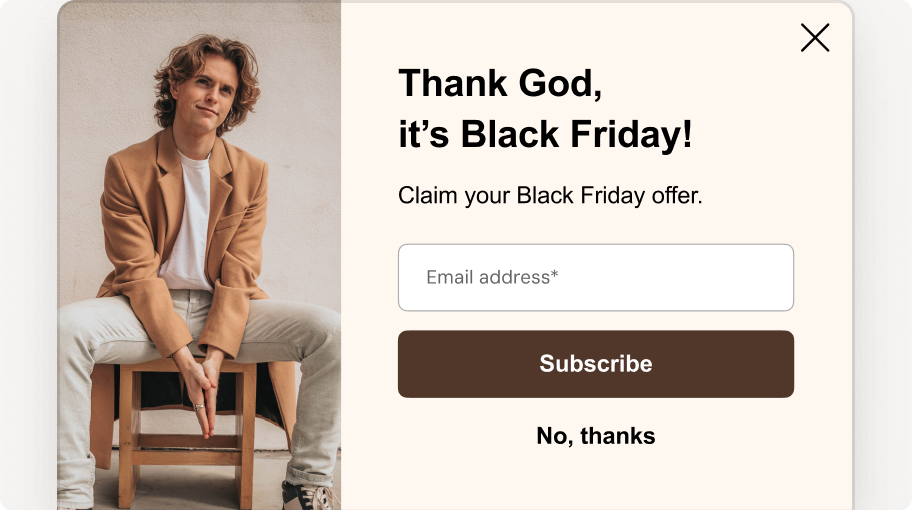
Turn store visitors into subscribers with Embedded Forms
by AfterShip
Updated: December 28, 2021
·
2 mins read
Do you want to enrich your ability to collect more leads for your business?
If yes, you should consider using embedded forms to maximize your conversion percentage.
What is an Embedded Form?
An embedded form is a method through which you can display your form as part of your own web page. It doesn’t require your website visitors to click on a particular link to go to a subscription form which ideally decreases one step in the process of getting conversions.
Embedded forms allow you to generate an HTML code automatically that can be used to embed straight into your website.
Why use embedded forms?
Embedded forms can be useful for your eCommerce business in many different ways, such as:
- It helps enrich the ability to collect leads
- Provides a better shopping experience to your customers
- Allows you to insert your embedded form on any page of your website through an HTML code
- Turns your high traffic pages into quality lead generation sources
How to add an Embedded form to your store?
You can follow the steps below to embed a form into your online store -
- Log in to your Automizely Marketing account
- Go to the “Popups & forms” section and click on the “Create new form campaign”
- Select the “Embedded form” template
- Now, you can design your embedded form from the “Settings,” “Text,” and “Style” tabs
- You have the option to offer a coupon to your subscribers by defining it manually from the “Settings” tab
- You also have the option to set a countdown timer in your embedded form to create a sense of urgency among your visitors
- From the “Text” tab, you can set the content of your embedded form and specify the information that you want to collect from the form
- From the “Style” tab, you can style your embedded form, including the layout, color, and font
- Once done with all the settings, save and publish the form
- Copy the code generated in the “Embed code” section
- Now go to the “Themes” section of your Shopify store and click on the “Customize” button
- Click on the “Add section” available on the left menu bar and then select “Custom liquid” to paste your copied HTML code
- Hit the save button
Congratulations! Your embedded form is live now 😊
For more information on effectively setting up and using embedded forms, you can refer to our help article.
For any other queries, feel free to reach our customer support to get quick assistance.
By AfterShip
Updated: December 28, 2021
Share this article
Get the week's best eCommerce content
Collect more leads and convert more visitors with form & popup builder software
Recommended from AfterShip
February 11, 2026
February 02, 2026
January 06, 2026
January 03, 2026

